Get Started with Permit2 (Advanced)
Get Started with Permit2 (Advanced)
⚠️ The Permit2 flow is intended for advanced integrators only.
If you’re new to 0x Swap API or want to avoid the double-signature UX, consider using AllowanceHolder instead.
About Swap API
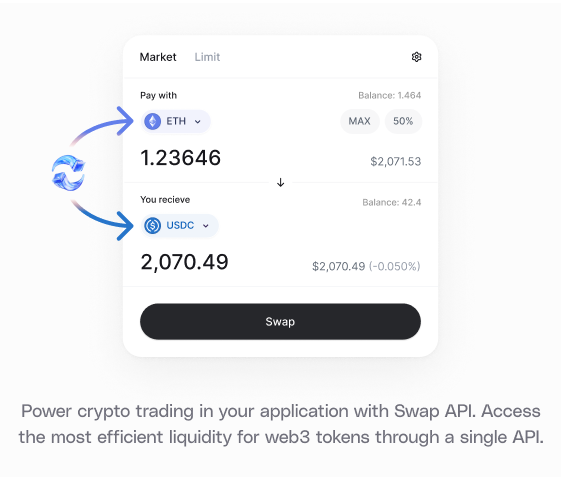
Swap API is a DEX aggregation and smart order routing REST API that finds the best price for crypto trades. With one API integration, you can easily add trading to your app. Swap API aggregates liquidity from 373+ sources, including AMMs and exclusive professional market makers, on 20+ supported chains.
The API handles three key tasks:
- Queries ERC20 prices from decentralized exchanges and market makers
- Aggregates liquidity for the best possible price
- Returns a trade format executable via your preferred web3 library
What You Will Learn
This guide will cover the core steps to using Swap API, specifically using the Swap Permit2 endpoint.
Learn about the difference between Permit2 and AllowanceHolder in Swap API
Try It Out
Example Code
Follow along locally with the code example: https://github.com/0xProject/0x-examples/tree/main/swap-v2-permit2-headless-example
Playground
Try this code example directly in your browser—no installation needed!
Swap Token in 6 Steps
- Get a 0x API key
- Get an indicative price
- (If needed) Set token allowance
- Fetch a firm quote
- Sign the Permit2 EIP-712 message
- Append signature length and signature data to calldata
- Submit the transaction with Permit2 signature
0. Get a 0x API key
Every 0x API call requires an API key. Create a 0x account to get your live API key. Follow the setup guide for more details.
Building with an AI coding agent? Install the 0x Agent Skills to give your agent instant knowledge of the 0x Swap API — swap flows, auth patterns, error handling, and more. Set your API key as an environment variable and your agent handles the rest.
1. Get an Indicative Price
Let’s find the best price!
Use the /swap/permit2/price endpoint to get an indicative price for an asset pair. This returns pricing information without creating a full order or transaction, allowing the user to browse potential prices before committing.
Think of /price as the “read-only” version of /quote, which you’ll use in step 3.
Example Request
Here is an example request to sell 100 WETH for DAI using /price.
See (code example).
Example Response
You will receive a response that looks like this:
Expand to see response
2. Set a Token Allowance
Before proceeding with the swap, you’ll need to set a token allowance.
A token allowance lets a third party move your tokens on your behalf. Approve an allowance for the Permit2 contract - do not approve the Settler contract.
Specify the amount of ERC20 tokens the contract can move.
For implementation details, see how to set your token allowances.
-
NEVER set an allowance on the Settler contract. Doing so may result in unintended consequences, including potential loss of tokens or exposure to security risks. The Settler contract does not support or require token allowances for its operation. Setting an allowance on the Settler contract will lead to misuse by other parties.
-
ONLY set allowances on AllowanceHolder or Permit2 contracts, as indicated by the API responses.
-
The correct allowance target is returned in
issues.allowance.spenderorallowanceTarget.
When setting the token allowance, make sure to provide enough allowance for the buy or sell amount as well as the gas; otherwise, you may receive a ‘Gas estimation failed’ error.
Example Code
Here is an example of how to check and set token approvals.
See code example.
3. Fetch a Firm Quote
When you’re ready to execute a trade, request a firm quote from the Swap API using /swap/permit2/quote. This signals a soft commitment to complete the trade.
The response includes a full 0x order, ready for submission to the network. The Market Maker is expected to have reserved the necessary assets, reducing the likelihood of order reversion.
Example Request
Here is an example to fetch a firm quote sell 100 WETH for DAI using /quote.
See code example.
Example Response
You will receive a response that looks like this:
Expand to see response
4. Sign the Permit2 EIP-712 Message
Now that we have our quote, the next step is to sign and append the necessary data before submitting the order to the blockchain.
First, sign the permit2.eip712 object that we received from the quote reponse.
See code example.
5. Append Signature Length and Signature Data to transaction.data
Next, append the signature length and signature data to transaction.data. The format should be <sig len><sig data>, where:
<sig len>: 32-byte unsigned big-endian integer representing the length of the signature<sig data>: The actual signature data
See code example.
6. Submit the Transaction with Permit2 Signature
Finally, submit the transaction using your preferred web3 library. In this example, we use viem’s signTransaction and sendRawTransaction.
This sends the prepared transaction data, including the Permit2 signature, to the blockchain.
See code example.
Learn More
This wraps up the Swap API Permit2 quickstart. See the links below for starter projects.